Quick Start
Categories:
Introduction
By the end of this chapter, you will have:
- Configured the only required settings for a quick start
- Started your first stacking session and obtained your first results.
Initial configuration
On the first start, ALS introduces the configuration steps required to get started:
ALS needs to know the paths of two critical folders:
- The Scan folder: The folder where ALS monitors the arrival of new subs.
- The Work folder: The folder where ALS saves the produced images.
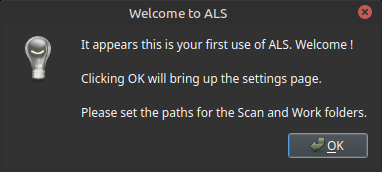
ALS welcome screen with setup options
You have two options:
Default configuration
- 🖱️ Click the left button to let ALS create the 2 folders on your desktop then start the application
Custom configuration
- 🖱️ Click the right button to choose custom folders
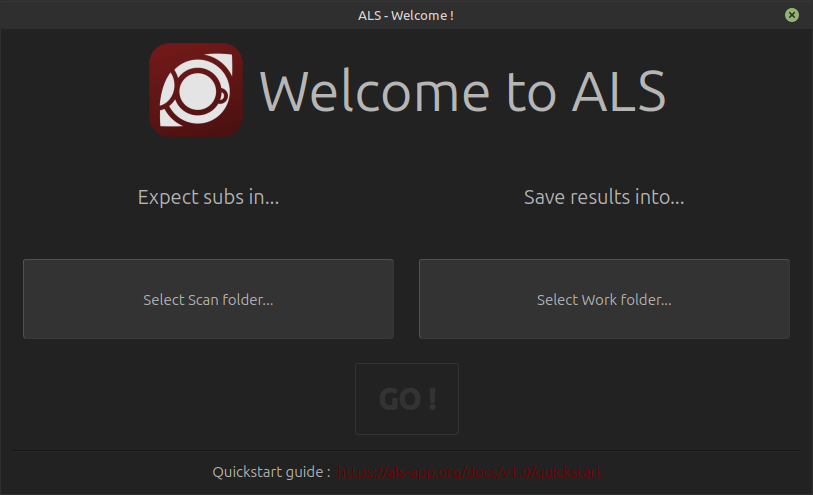
ALS custom folder setup screen
- 🖱️ Click both buttons to select the Scan folder and the Work folder ALS will use
ALS also monitors subfolders, so if your acquisition system organizes subs into folders by date, target name, frame type, or similar criteria, select their common parent folder as ALS’s Scan folder.
You can select or create any folder on your system, but we recommend using folders on a fast drive
- 🖱️ Once both folders are set, click
GO !to start the application
Your Very First Session
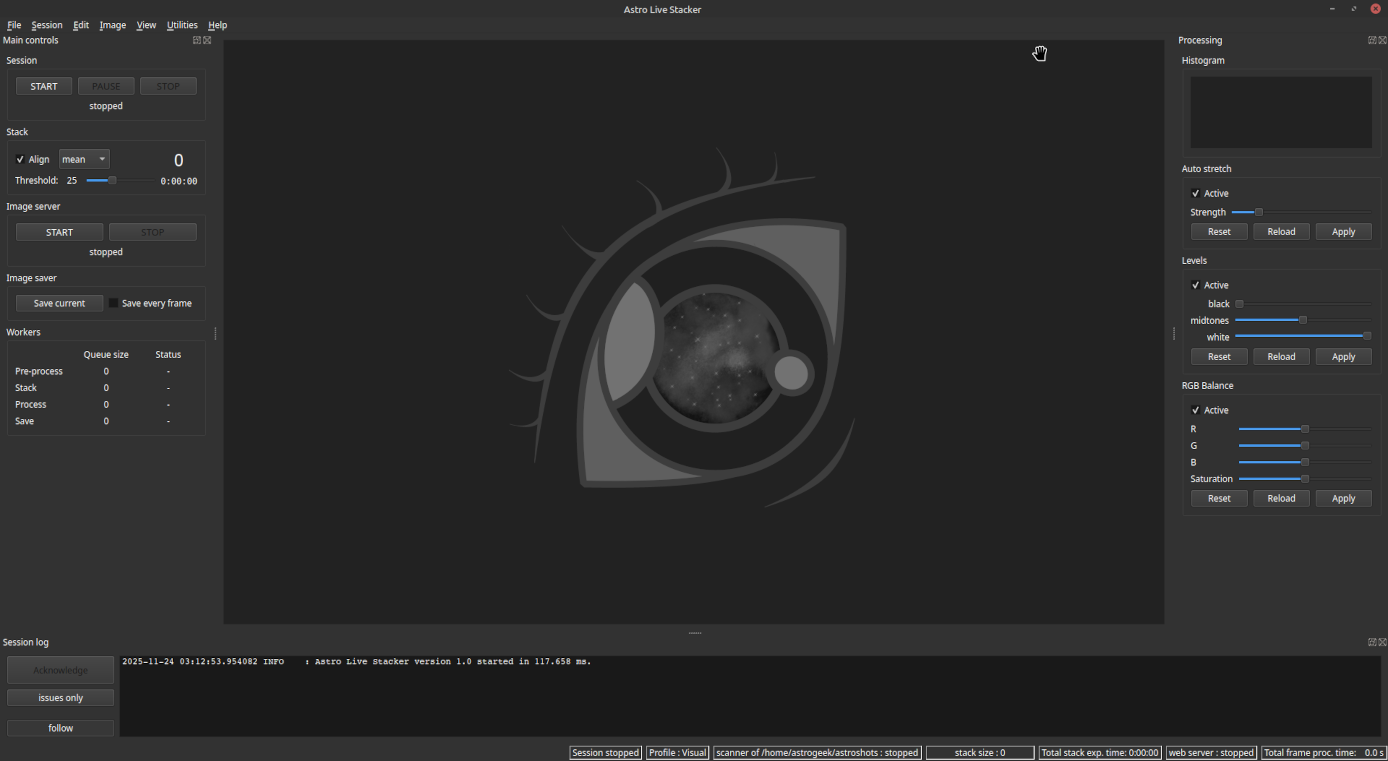
ALS ready to start its very first session
Starting the Session
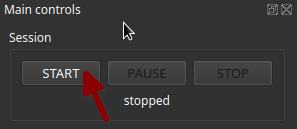
The session start button
🖱️ Click START in the session section at the top left
ALS confirms the successful session start:
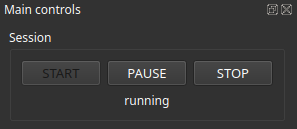
The session control buttons and session status are updated

The session log displays the latest events and the status bar is updated
🎛️ Before starting your acquisitions, make sure that new subs will be saved in the Scan folder configured in ALS, or any of its subfolders.
🎛️ Now start the acquisitions with your usual system. ALS detects and processes each new sub.
As an example, we will illustrate the following sections with a session on Messier 27: ZWO ASI224MC camera, 200 x 4 sec. subs
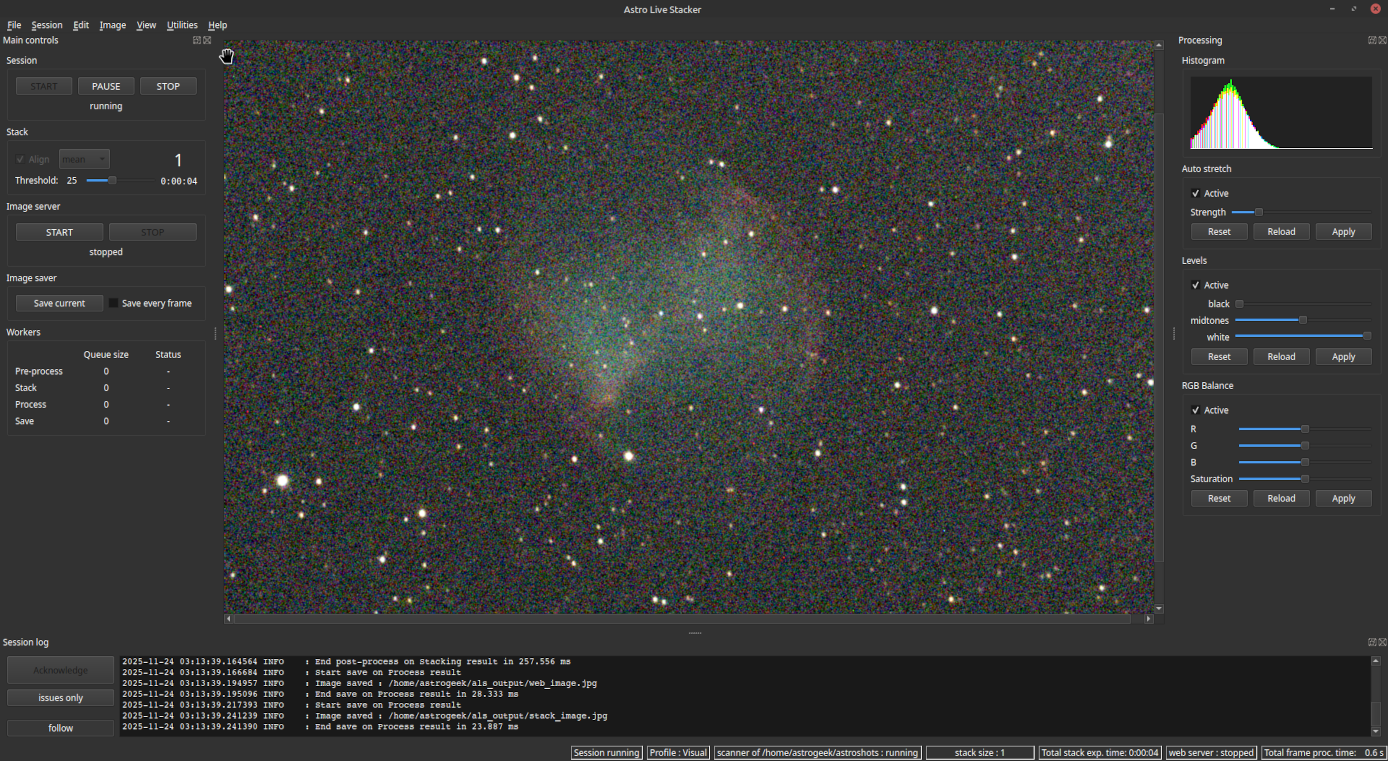
ALS after processing the 1st sub
All new subs are first aligned to this reference and then stacked by averaging with all previously processed subs.
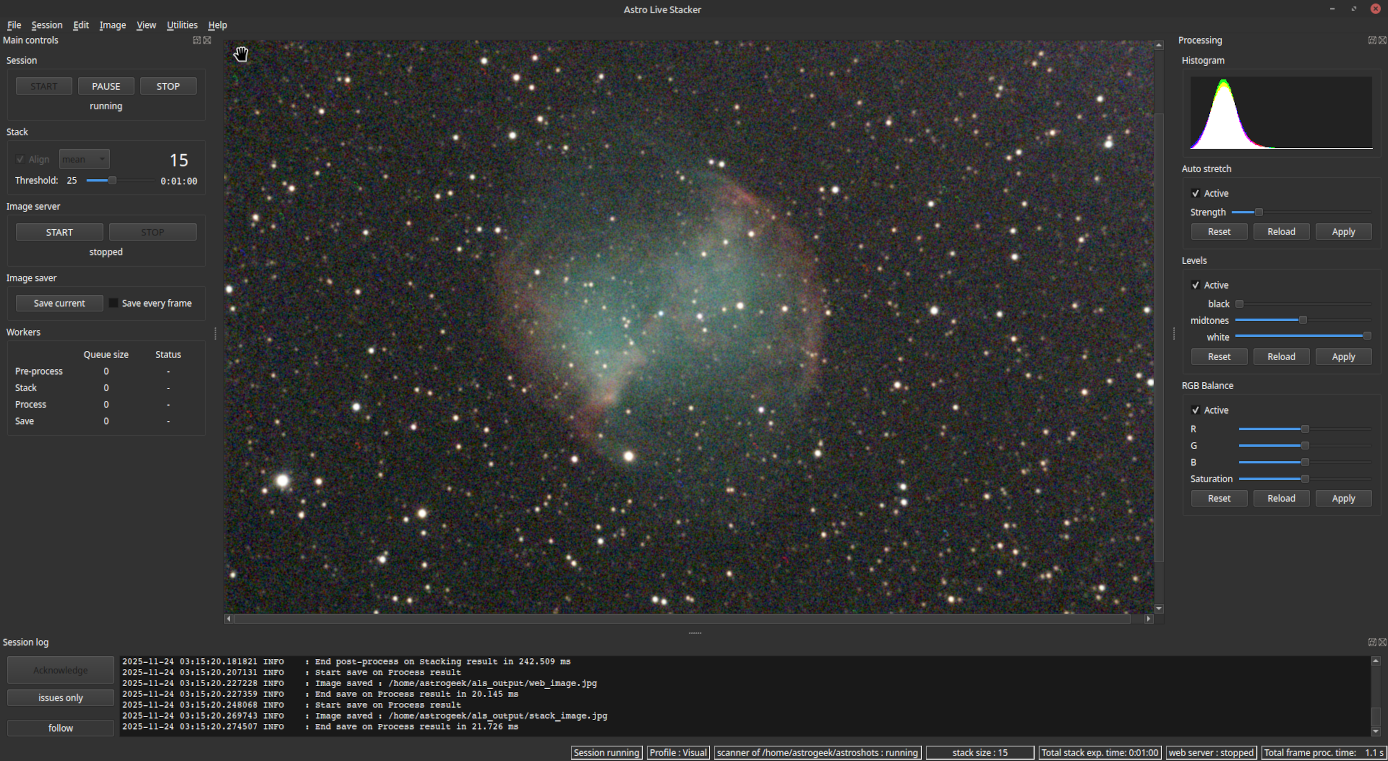
ALS after processing the 15th image. Contrast and noise improve
After each alignment and stacking of a new sub, ALS automatically adjusts the brightness and color balance before displaying the result in the central area.
As you stack more subs, you will see the result gain in contrast and detail. The grainy appearance of the sky background will gradually fade away.
Explore
Let ALS work on the subs that keep coming in and lose yourself a bit in the central area:
- 🖱️ Zoom in and out using your mouse wheel
- 🖱️ Navigate the image by dragging it, like with any other viewing software
- 🖱️ Reset the zoom by right-clicking in the image
The image in the central area is instantly updated after each sub is processed, with no impact on navigation.
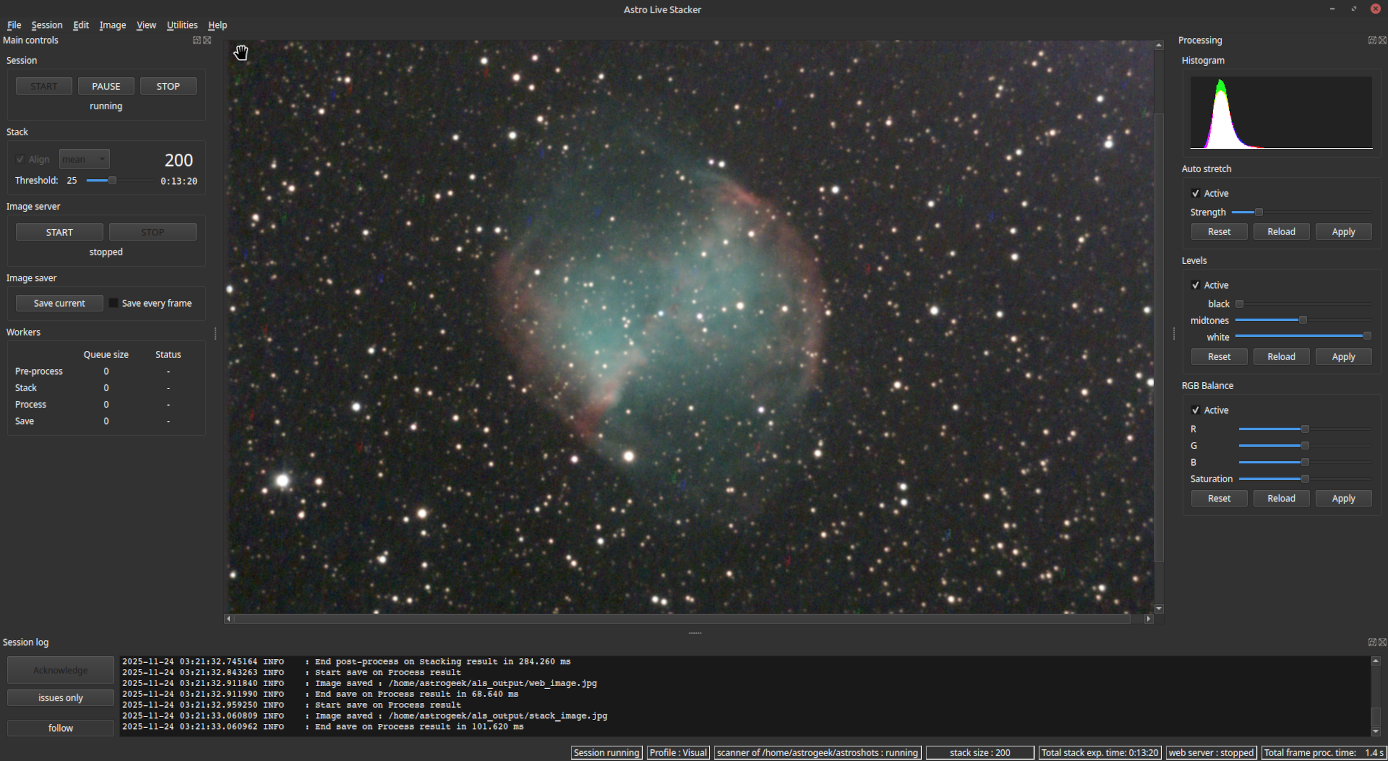
ALS after processing the 200th image. A beautiful, detailed, and smoothed image
This quick start guide does not cover the other features and settings of ALS. However, ALS has been designed to be very intuitive. Feel free to explore and experiment with the various controls located on the right side of the screen in the Processing section.
Stopping the Session
Our express guided tour is coming to an end, stop the current session.
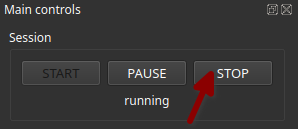
The session stop button
🖱️ Click STOP in the session section at the top left. A confirmation window appears…
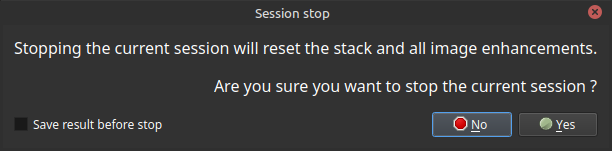
Session stop confirmation window
🖱️ Click Yes
You will find the final result of this session in the file named stack_image.jpg saved in the work folder
ℹ️ Linux Systems
This section is exclusively for ALS users on Linux, whether on PC or Raspberry Pi
Creating a system launcher for ALS
This optional step creates a launcher in your system application menu, so you can start ALS without browsing to the installation folder each time.
🖱️ Open the Utilities menu and select Create launcher. A file selector appears.
-
🖱️ Browse to the folder where ALS is located
-
PC: Browse to /home/astrogeek/Applications/ALS
-
Raspberry Pi: Browse to /home/astrogeek/Applications/ALS/als-v1.0
-
-
🖱️ Select the executable
-
PC: Select the file als-v1.0.run
-
Raspberry Pi: Select the file als-v1.0
-
-
🖱️ Click
Open
ALS confirms the successful creation of the launcher
ALS is now accessible from your system menu, in the Graphics section
Conclusion
ALS is now properly configured and ready to process your subs with its default settings.
You have just completed your first stacking session and obtained your first result.
Next step: diving in our user guide